 fClick here for pattern.
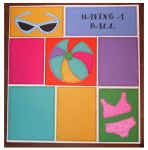
Directions: Click the picture above to get a printable pattern
for the page. You may use whatever colors you prefer for this
layout. I used mostly brighter colored papers. You may also want to
adjust the placement and or sizes of the blocks on the page depending on your
photos.
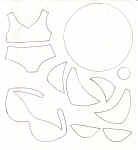
Place the pattern over the colored/printed paper you desire and cut
out pattern and paper at the same time. After all the piece are cut out,
you will want to assemble the beach ball and the sunglasses by attaching the
smaller pieces to the larger base.
For the beach ball, attaching the small
pieces can be tricky. The two larger pieces of should go on one side of
the ball with their arcs in opposite directions. The same applies for the
two small pieces on the other side of the ball. The small circle is place
where all the pieces intersect. See example of placement below.
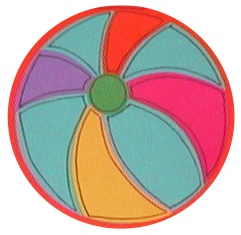 On
the this beach ball, I used the teal color as the base (large circle) and the
other colors were the smaller pieces I added.
On
the this beach ball, I used the teal color as the base (large circle) and the
other colors were the smaller pieces I added.
After all of the
pieces have been put together, use a black marker to outline the pieces for
definition.
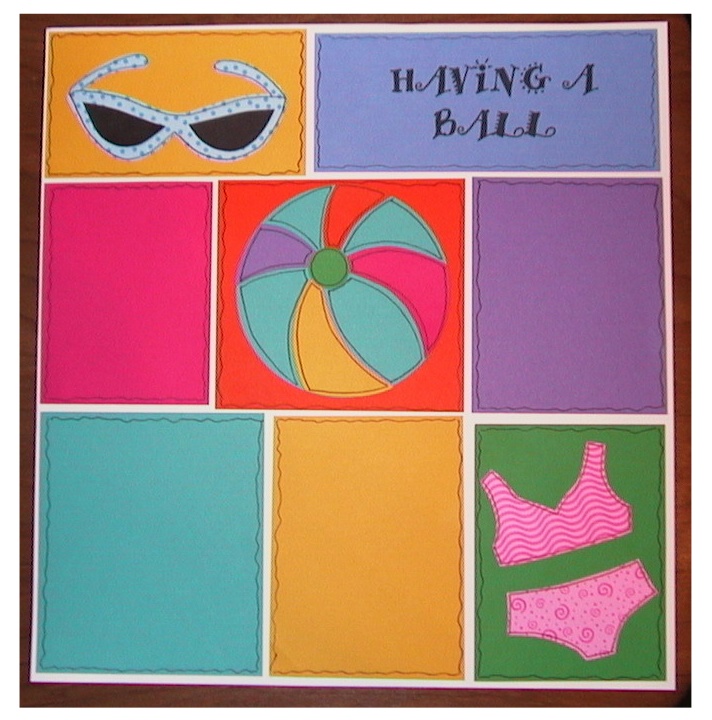
Next, you will matte your paper piecing and
photos. Try to use colors that complement your designs and don't drown
them out. You will want to think about positioning your photos and paper
piecing before cutting the finished mattes. Cut your items so that there
is only a thin line of your background page showing through between the pieces
to achieve the "block design" effect. You can also use the black
marker to outline your photos on the matte to complete the look. If you
are left with some smaller or thinner pieces, don't worry! Use them for
journaling or for your title.
On my design, I used a computer
font for the lettering "Having a Ball."